

Post by Katt on Jan 27, 2013 10:54:37 GMT -9
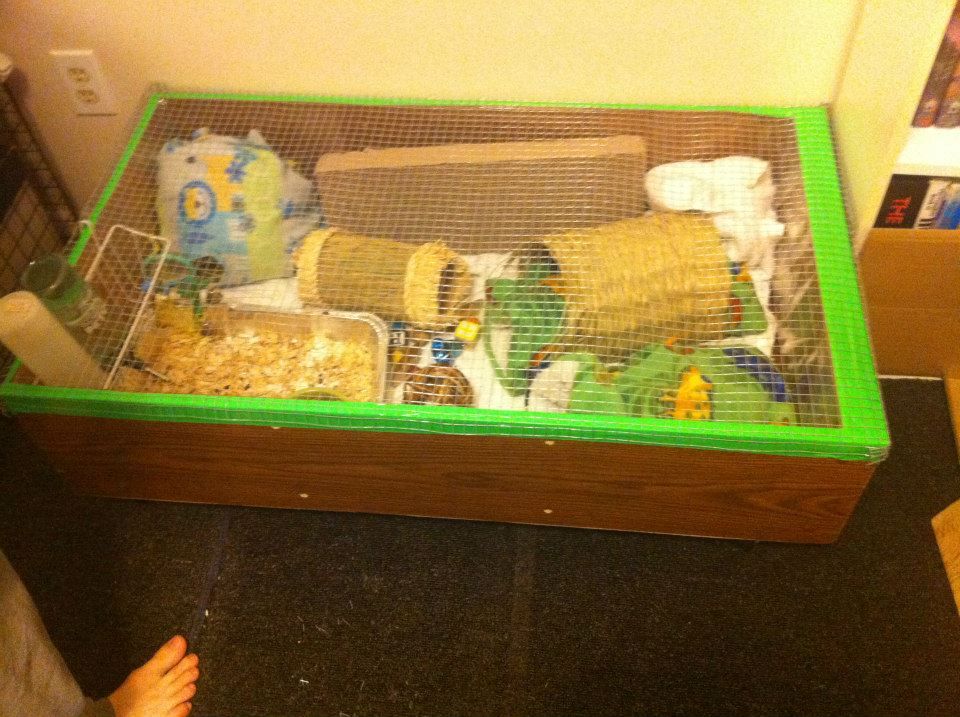
This can be done with any size bookshelf to accommodate larger groups. I was able to make a cage suitable for 1-2 GP's out of a $15 bookshelf I got off of Craigslist.
You need:
Bookshelf: $15
Shower Curtain: $3
Small Hanging basket $5
Hardware Cloth (I think it's about $15 for a large roll - I had some on hand already)
Duct Tape
Staples and Staple Gun
Feet (small wood blocks) and wheels
Drill and Screwdriver
Wire Cutters
Hammer
Remove all shelves from the bookshelf and lay it on its back. If you want to add wheels, you will first need to create feet with small wood blocks to attach the wheels to. You must do this by setting the block on the corner of the outside back of the bookshelf (I'll try to get pics later). Screw the wood on from the inside of the cage so that you do not have a pointed screw going up into the floor. From there you can attach the wheels to the feet. This makes the cage easy to move for cleaning.
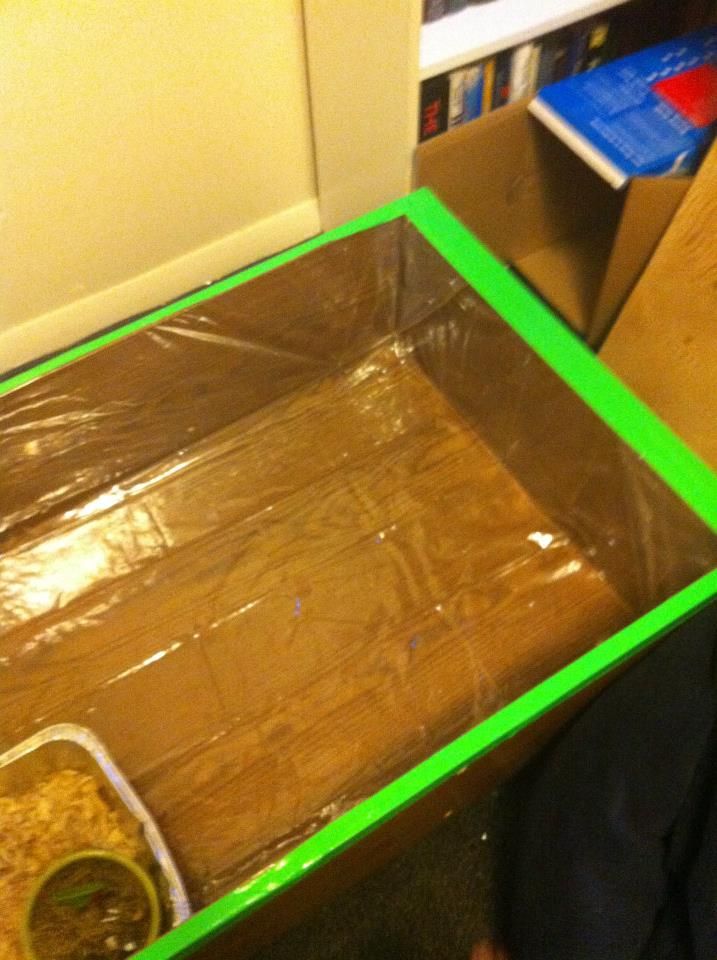
I used a cheap $3 plastic shower curtain from Wal-Mart. I would recommend a thicker shower curtain though that will be easier to rip. Once it was stapled down the plastic did well, but it was easy to rip it during the stapling process. Line the inside of the bookshelf/cage with the shower curtain and secure it to the walls (the floor will be too thin to staple anything to) using a staple gun. (Screws will merely poke holes in the plastic). For extra security, I used duct tape to seal the edges at the top. You could also fold the plastic over and staple it around the outside of the cage but I chose the tape because I felt it was prettier. Be sure to cut off any excess plastic. I found that some of my staples had to be hammered down as they didn't go in all of the way at first. The hammer secured them all with no problem though.
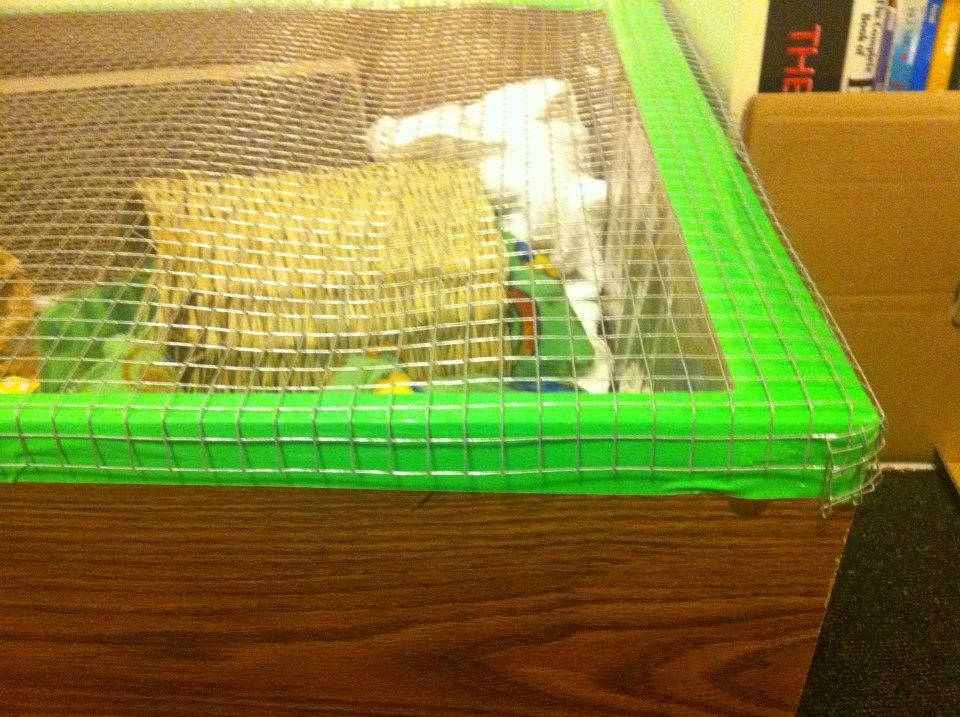
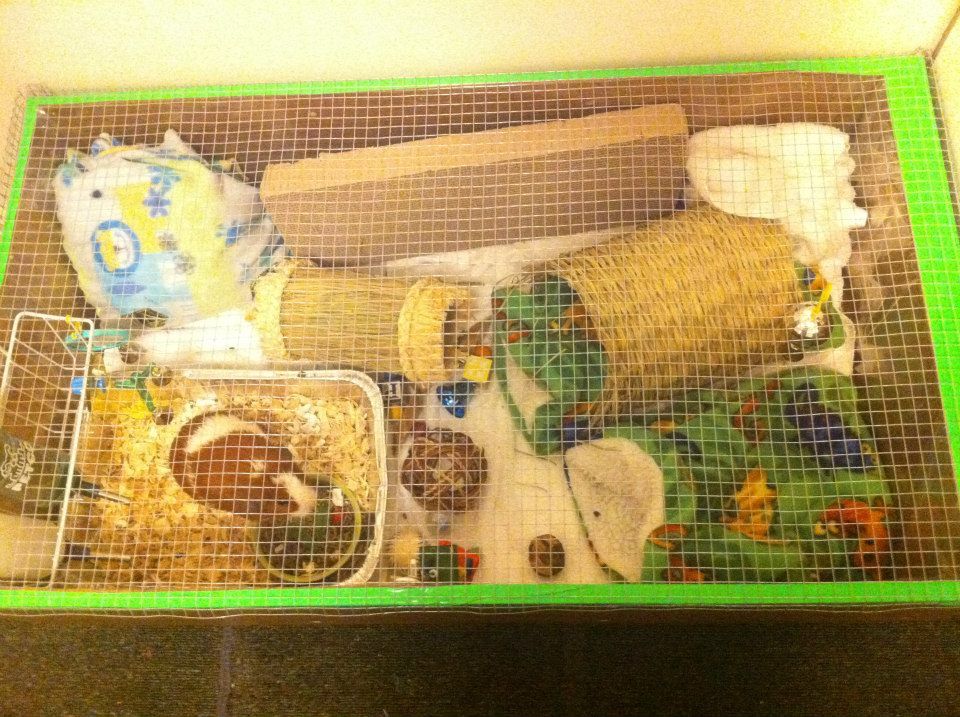
Next you need a lid. Measure the hardware cloth so that it is slightly larger than the cage. Fold the edges down to fit around the cage. You can cut the corner and fold them over the create a corner.
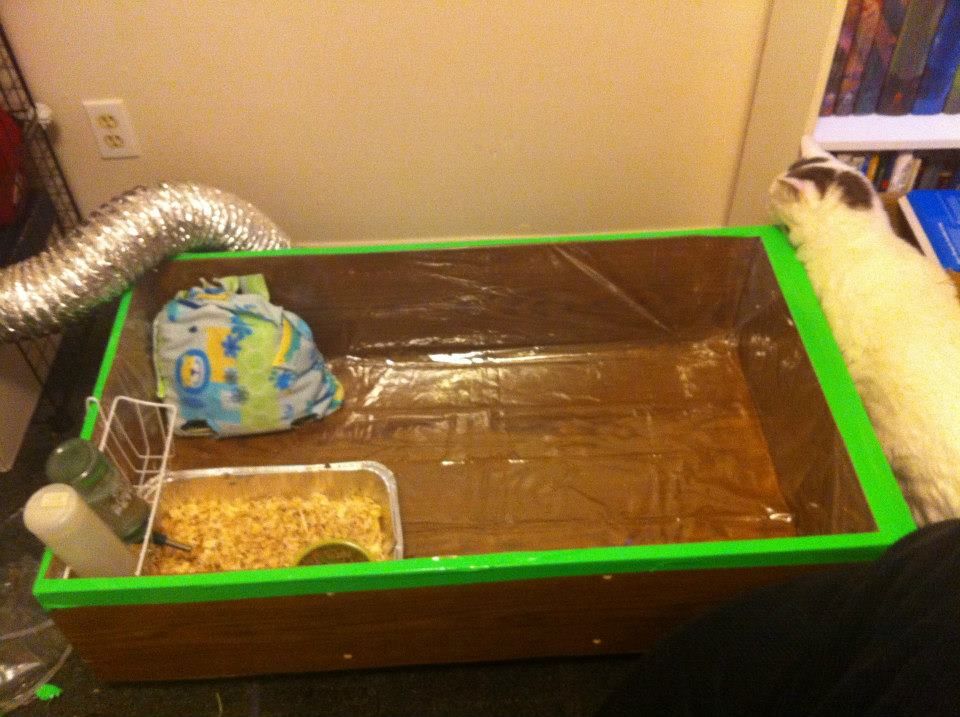
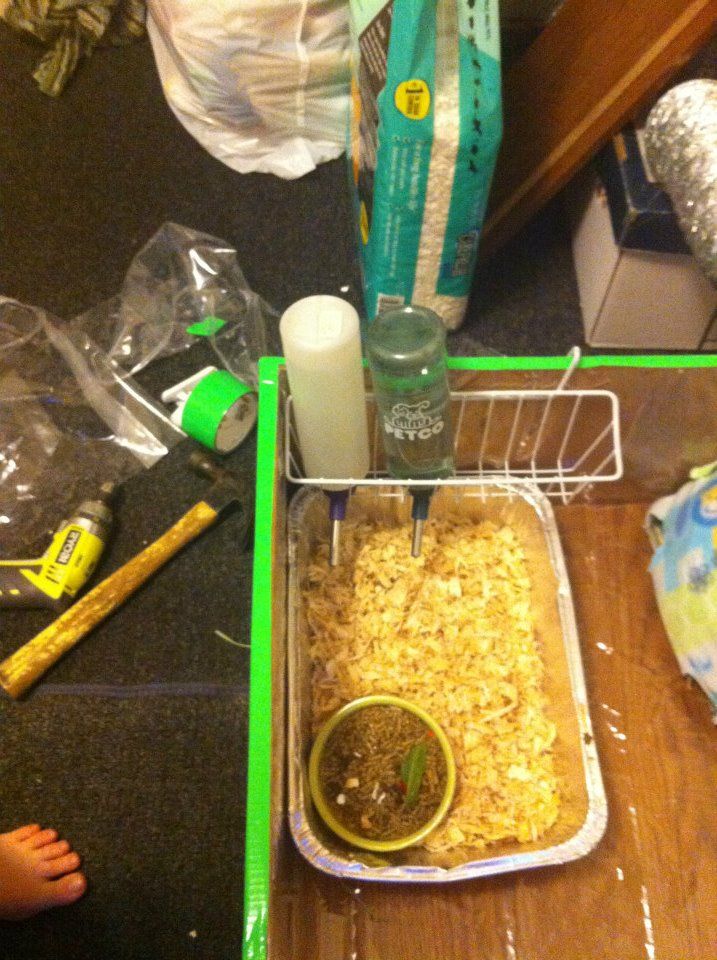
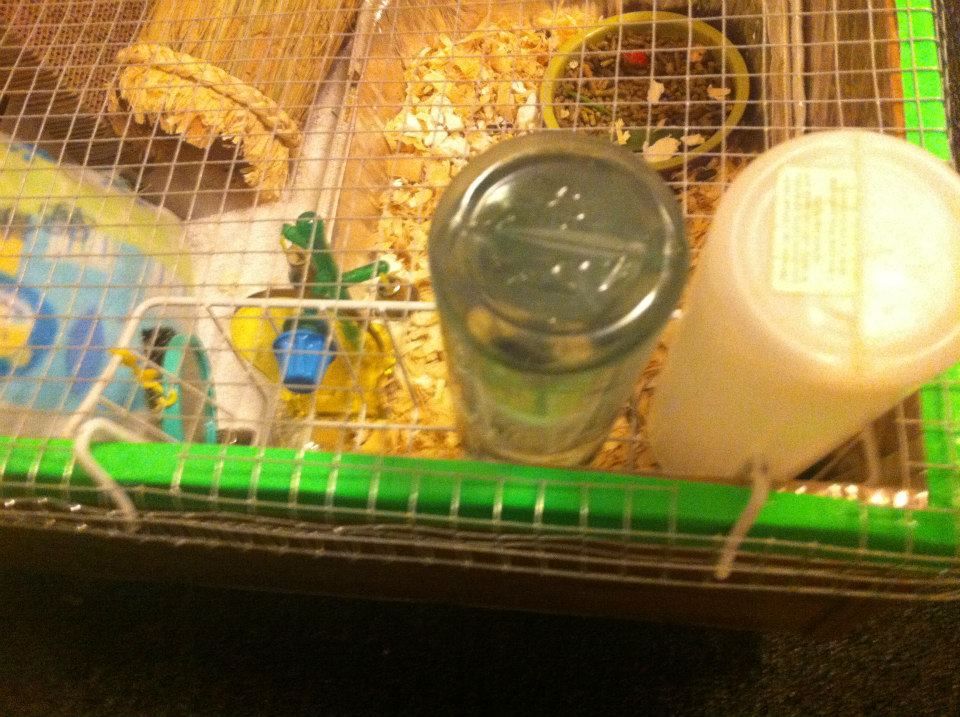
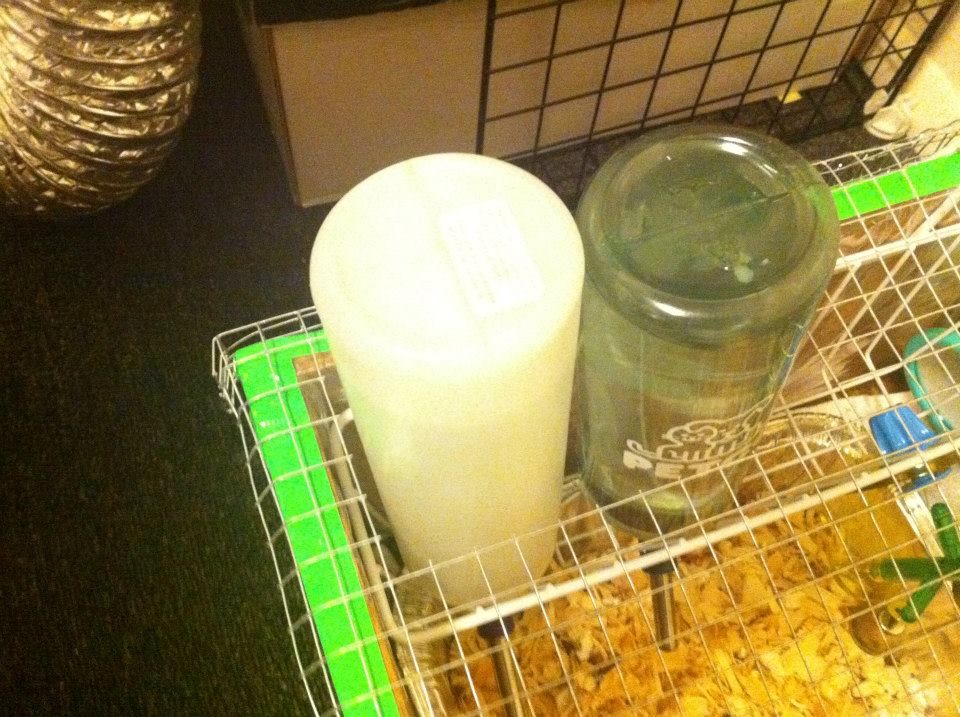
Use a hammer to stretch out the bracket of the hanging basket and hang this over a thin side of the shelf. I used the hammer to then push the basket more securely onto the wall. This can be used to hold water bottles, as well as hang toys. You may need to cut a hole in the cage lid depending on the size of your water bottles. This is very easy to do with the wire cutters. As an added touch I hung a wall hook (like for hanging pictures or decorations) on one side to allow other toys to be hung.
Voila! Nice roomy GP cage!

You need:
Bookshelf: $15
Shower Curtain: $3
Small Hanging basket $5
Hardware Cloth (I think it's about $15 for a large roll - I had some on hand already)
Duct Tape
Staples and Staple Gun
Feet (small wood blocks) and wheels
Drill and Screwdriver
Wire Cutters
Hammer
Remove all shelves from the bookshelf and lay it on its back. If you want to add wheels, you will first need to create feet with small wood blocks to attach the wheels to. You must do this by setting the block on the corner of the outside back of the bookshelf (I'll try to get pics later). Screw the wood on from the inside of the cage so that you do not have a pointed screw going up into the floor. From there you can attach the wheels to the feet. This makes the cage easy to move for cleaning.
I used a cheap $3 plastic shower curtain from Wal-Mart. I would recommend a thicker shower curtain though that will be easier to rip. Once it was stapled down the plastic did well, but it was easy to rip it during the stapling process. Line the inside of the bookshelf/cage with the shower curtain and secure it to the walls (the floor will be too thin to staple anything to) using a staple gun. (Screws will merely poke holes in the plastic). For extra security, I used duct tape to seal the edges at the top. You could also fold the plastic over and staple it around the outside of the cage but I chose the tape because I felt it was prettier.
 Be sure to cut off any excess plastic. I found that some of my staples had to be hammered down as they didn't go in all of the way at first. The hammer secured them all with no problem though.
Next you need a lid. Measure the hardware cloth so that it is slightly larger than the cage. Fold the edges down to fit around the cage. You can cut the corner and fold them over the create a corner.
Use a hammer to stretch out the bracket of the hanging basket and hang this over a thin side of the shelf. I used the hammer to then push the basket more securely onto the wall. This can be used to hold water bottles, as well as hang toys. You may need to cut a hole in the cage lid depending on the size of your water bottles. This is very easy to do with the wire cutters. As an added touch I hung a wall hook (like for hanging pictures or decorations) on one side to allow other toys to be hung.
Voila! Nice roomy GP cage!


 I'm not sure why the pictures didn't work
  Allenya that would be neat, you could cut holes in the shelves and make tunnels to connect them so they could go up and down...